Download: nios2lab1.zip.
The purpose of this lab is to learn how to create and use a simple reconfigurable computer system. The system will consist of an Altera Nios II processor and an application program. You will use the Quartus II and SOPC Builder software to generate the hardware portion of the system. You will use the Altera Nios II IDE software to compile, load and run the application program.
First, you will use the SOPC Builder to create a system consisting of a Nios II/f processor, an on-chip memory block, a JTAG UART, an interval timer, and a parallel I/O interface..
Implement the system as follows:
nios2lab.v the top-level
module. Check the module name and parameter list generated by SOPC
with the values assumed in nios2lab.v. Edit the file
nios2lab.v, if necessary, to agree with the names
assigned by the SOPC tool.
DE2_pin_assignments.csv.
See the documentation from the Quartus compilation: nios2lab1 document
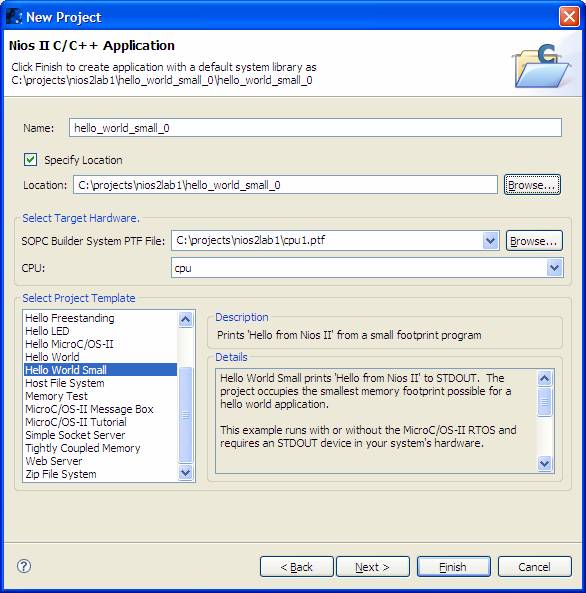
To create a simple Hello World project, perform the following steps:
When the build finishes, the Console view at the bottom of the workbench displays the message "Build completed." If the Console view is not visible, click the Console tab.
To download executable code to the Nios development board do the following:
See: program source
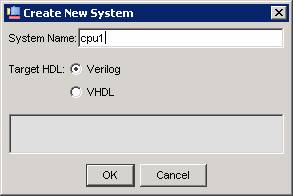
When you start the SOPC ("System on a Programmable Chip") tool, you get the following dialog.
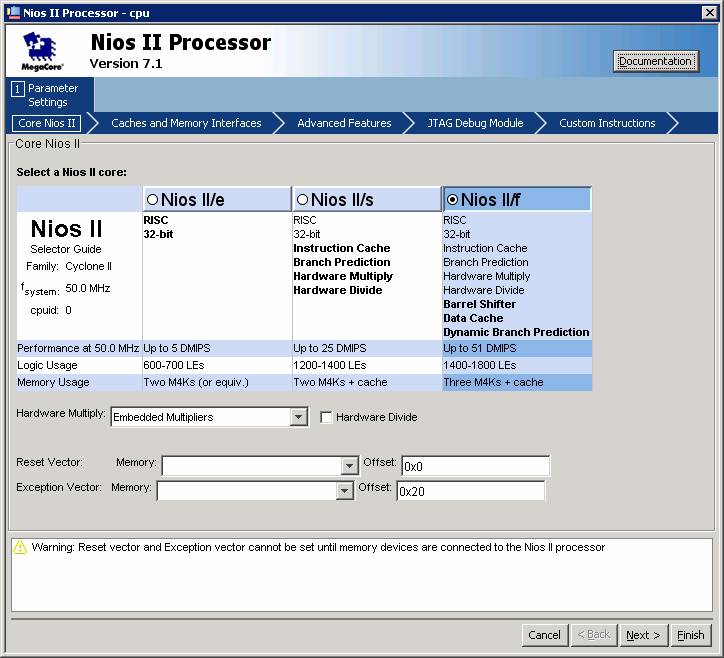
Selecting a processor brings up the following dialog:
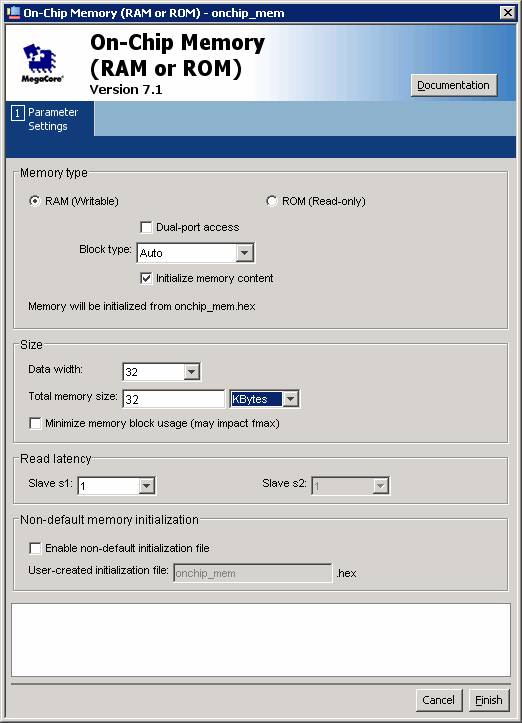
This next dialog adds On-Chip Memory:
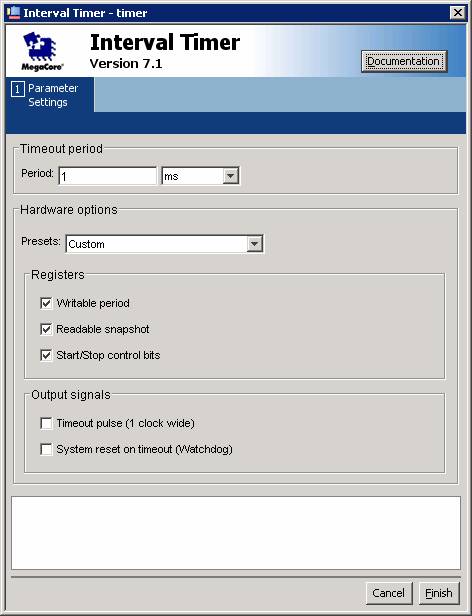
The next dialog adds an Interval Timer:
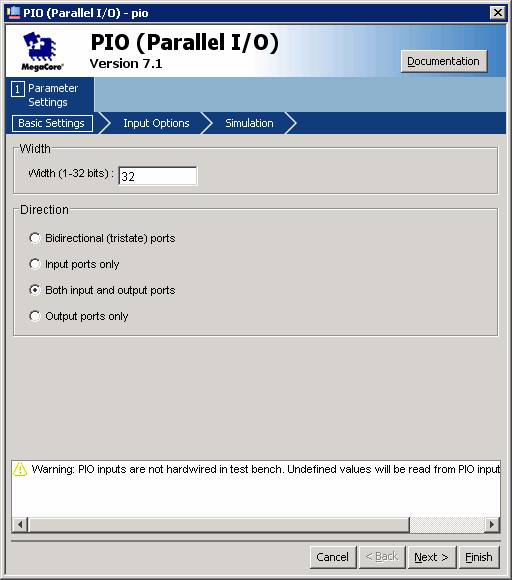
Here is the dialog for a PIO unit. Note that a port width of 32-bits is selected and both input and output ports are selected.
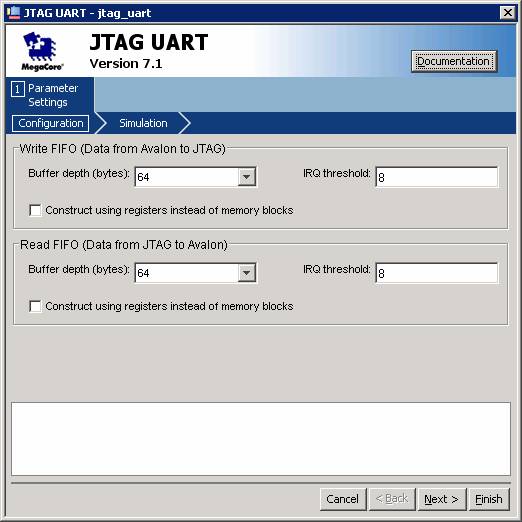
The JTAG UART provides serial communication between the board and the host computer (through a console window within the IDE).
The completed SOPC tool dialog page summarizes the configured system.

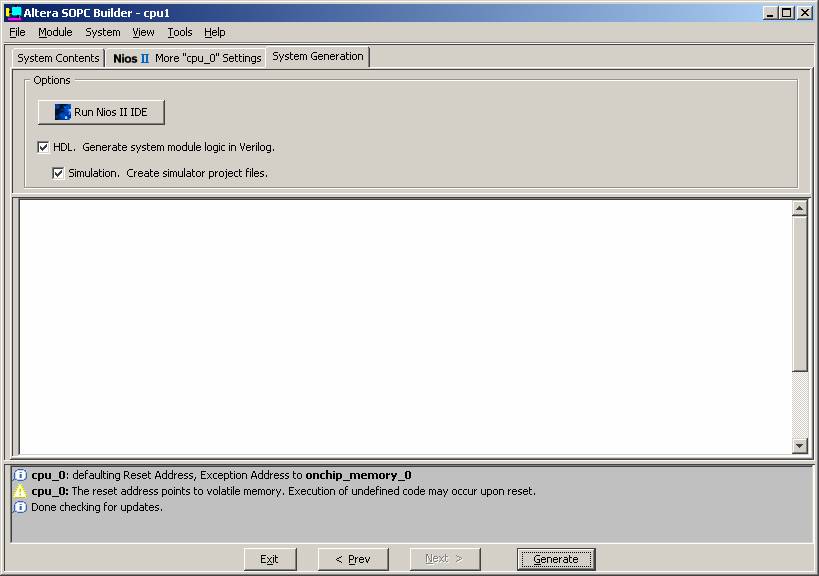
Here is the system generation dialog window:
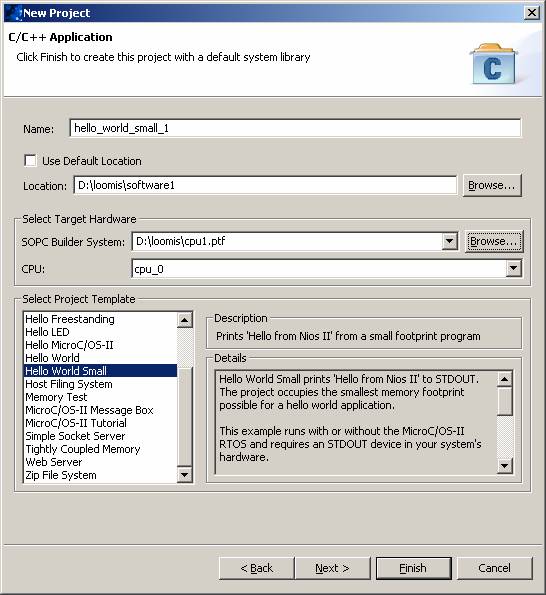
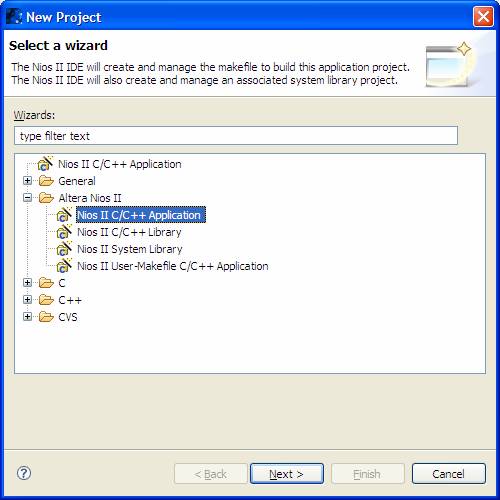
Finally, here are the dialogs from choosing a NIOS II IDE project:
Maintained by John Loomis, last updated 2 Sept 2008