Quartus New Project Wizard
To setup a new project, first copy any existing design files into
a new folder. For this project, download and unpack design files from
diglab1.zip
Select File - New Project Wizard from the top menu. You
should get the following starting screen:
|
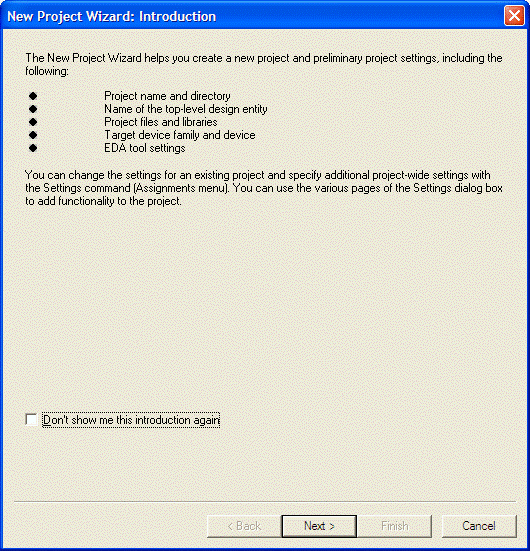
The New Project Wizard helps you create a new project and
preliminary project settings, including the following:
You can change the settings for an existing project and specify
additional project-wide settings with the Settings command(Assignments
menu). You can use the various pages of the Settings dialog box to add
functionality to the project.
|
| 
|
|
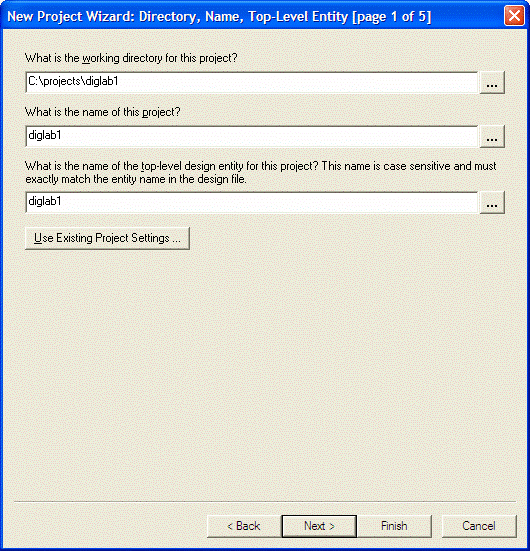
The top-level entity is responsible for port connections into and
out of the FPGA chip. You can select the top-level entity later by
right-clicking on a filename in the design files listing and choosing
Set as top-level entity
|
| 
|
|
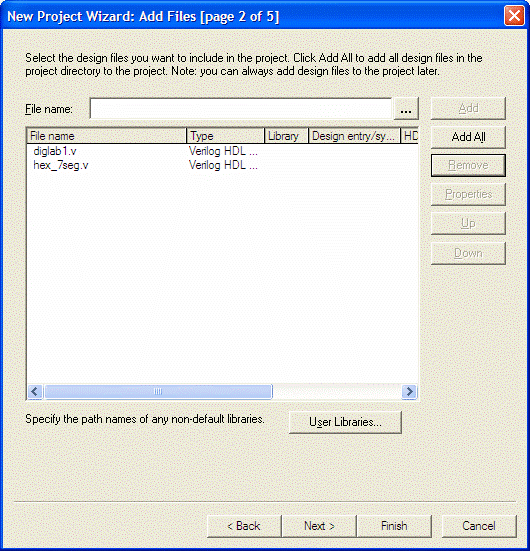
You can add source files now ñ or do it later.
This can be done from the top menu, selecting
Project - Selecting/Remove Files in Project ...
|
| 
|
|
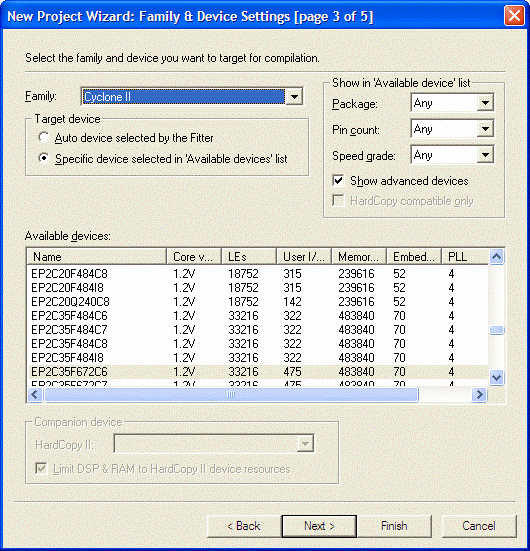
Choose the chip that is in the DE2 board ñ you can do this later also, but why not get it over with?
|
| 
|
|
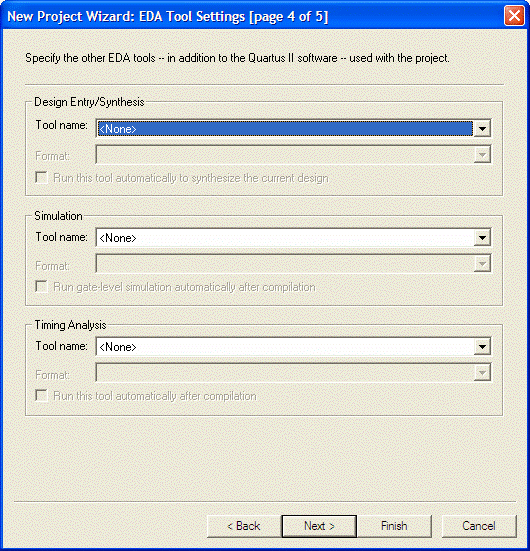
Accept defaults
|
| 
|
|
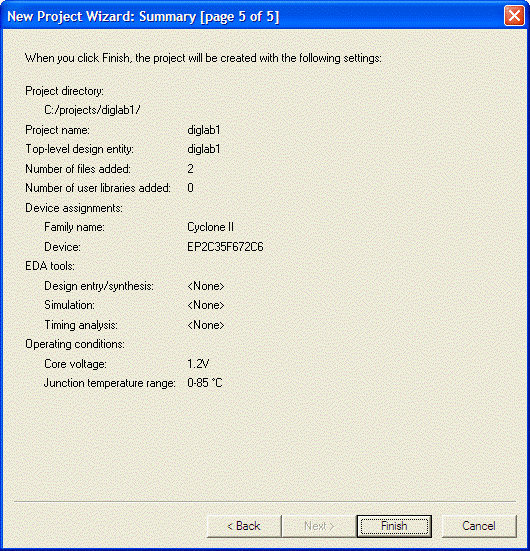
Information only
|
| 
|
Maintained by John Loomis,
last updated 18 January 2008