To start MPLAB IDE, double click on the icon installed on the desktop by the installation program. You can also select Microchip > MPLAB IDE from the start menu.
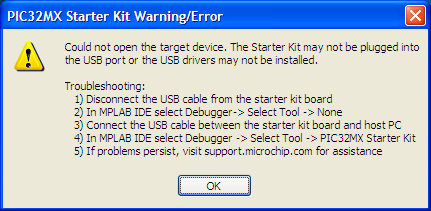
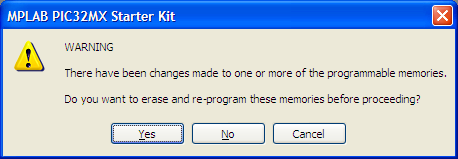
You may get the following warning dialog, which you can safely dismiss if the starter kit is not connected.
The capabilities of MPLAB IDE vary according to which device is selected. Choose Configure > Select Device from the top menu. In the Device dialog, select the PIC32 MCU from the drop-down list.
The “lights” indicate which MPLAB IDE components support this device.
We will build a simple "hello, world!" application. Download the source files for this application from the zip file hello.zip. You should unpack these files into an empty folder that you can browse to easily.
Choose Project > Project Wizard from the top menu. Click on Next from the welcome dialog to continue to the device selection screen:
Select PIC32MX360F512L and click Next.
Select the PIC32 C-Compilter Tool Suite and click Next. Many other tool suites are available, depending on the target device and user preference. y
Step Three of the wizard allows you to name the project and put it into a folder. Use the browse button to move the the folder you have selected for your project files. Click Next.
Step Four allows selection of files to be included in the project. Additional files can be added or created later. Press Next to get the summary screen. e
You should connect PIC32 Starter board if you have not already done so. Then choose Project > Build Configuration > Debug from the top menu (or use the drop-down box on the toolbar).
Then choose Debugger > Select Tool > PIC32MX Starter Kit from the top menu.
Finally choose Project > Build all from the main menu or click the corresponding button from the toolbar.
The build is successful if you have the following message in the output window:
BUILD SUCCEEDED
Choose Debugger > Run to download and run your project on the PIC32 starter kit.
You may get a warning dialog, which can be ignored. Choose Yes.
The MPLAB PIC32MX output window should look something like the following. Note the debug print messages from the processor.
[Debugger] Starter Kit Found
All Memories:
:::Erasing...
Program Memory:
:::Programming.....
:::Done
Boot Memory and Configuration Memory:
:::Programming....
:::Done
[TargetOUT] Basic Starter Kit Lab (Jul 17 2008, 22:33:07)
[TargetOUT]
[TargetOUT] Hello from PIC32
[TargetOUT]
[TargetOUT] Program terminated. Click HALT and then RESET to stop the microcontroller.
The program will continue to run (see the status line at the bottom of the IDE screen) until you choose Debugger > Halt followed by Debugger > Reset from the top menu. You may also click the corresponding toolbar buttons or use the corresponding keyboard shortcuts.
You may now congratulate yourself on a job well done, or perhaps just move to the next stage of development.
Maintained by John Loomis, last updated 18 July 2008